 |
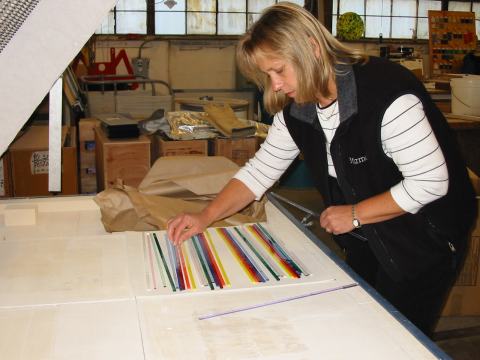
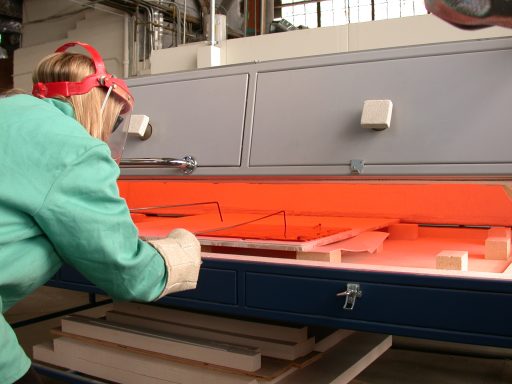
I'm setting up the glass strips onto the kiln shelf. This very large kiln has 8 kiln shelves, but for this demo I only used one shelf. 18" x Ľ" glass strips are cut and put directly onto ceramic fiber since this was a demo and we wanted the temperature to go up as quickly as possible to combing temperature: 1650°. |
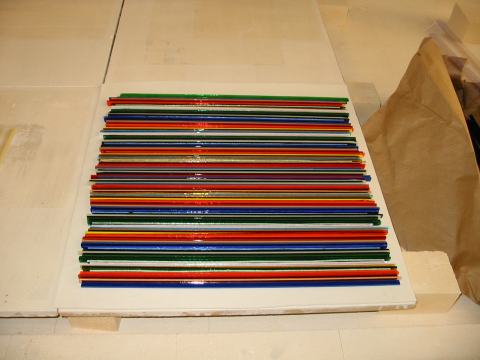 |
The strips are placed vertically to obtain more color combinations and to have very tight lines for the design/pattern. These vertical strips are supported by two strips stacked horizontally on each end. Having the two ends stacked this way keeps all of the vertical strips in place during the firing. I always make sure there is enough room so the glass doesn't grow or distort so much that it will overflow the kiln shelf. |
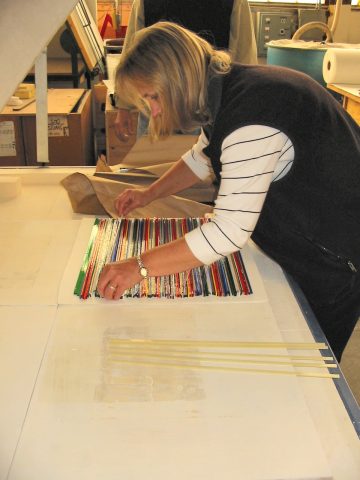 |
I like to rearrange the colors and combinations to fit what I want the final combing to look like. In this photo I am adding the color "Straw Yellow" for color balance. |
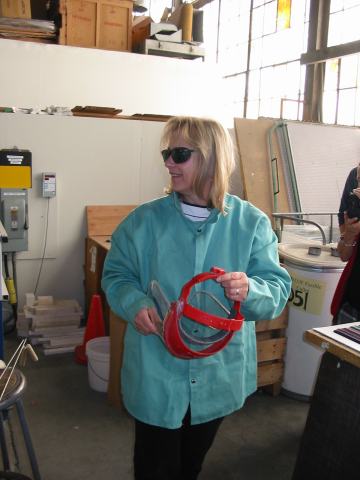 |
This lovely green jacket is a must and quite a fashion statement. It's 100% cotton and flame retardant (treated with Proban FR-7A). Because it is cotton, it is comfortable while "stylish". This jacket keeps you cooler due to it being cotton. Safety is very important when combing. I like to wear an ordinary protective face shield; this allows me to stay in front of the kiln for extended times. Without the shield you will find you need to quickly move out of the heat. I wear welders green safety glasses to protect my eyes. |
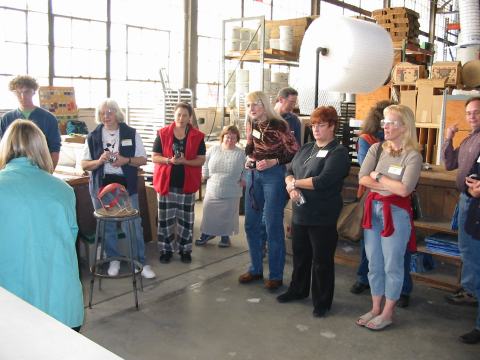 |
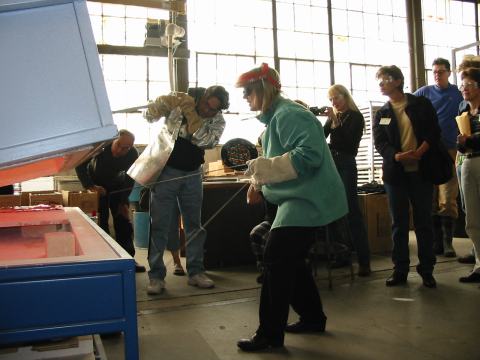
One of the WGW tour groups passing through the Uroboros Factory is fortunate enough to watch the demonstration. |
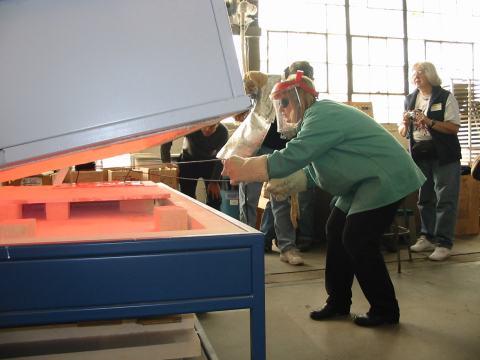 |
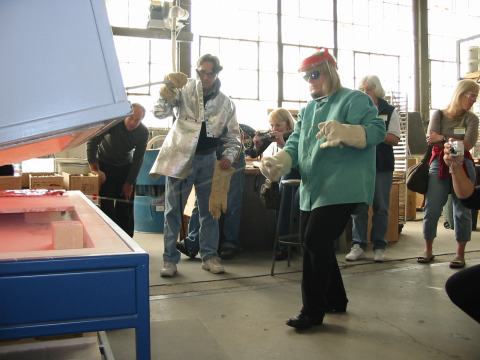
I'm wearing my lovely green jacket, Kevlar gloves, green welders glasses, and face shield.
Bill Ward from Uroboros (in the aluminum jacket) assisted me with raising the kiln lid. We only opened the kiln part way so it would be able to regain heat quickly for the next combing strokes. In the background you can see Lynne Chapell from British Columbia with camera ready and Dan Legree from Savoy Studios next to Bill Ward looking into the kiln. |
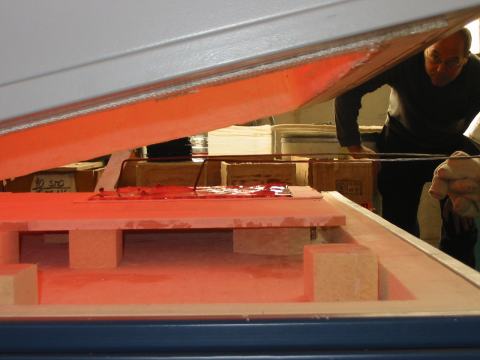 |
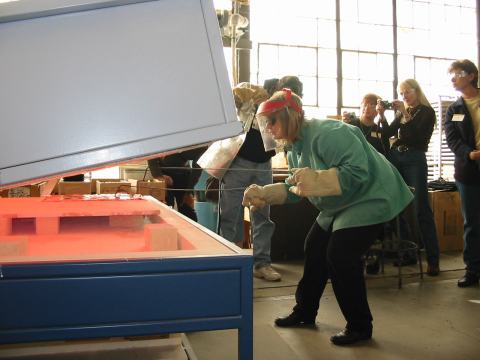
I love the glow of a hot kiln. Before opening the kiln for combing, always remember to turn the elements off to prevent electrical shock. I prefer to use two 3/16" stainless steel combing rods. The two ends are bent at an angle and the handle is a dowel to get a better grip. The tips that will do the actual combing are blunt, not pointed. I like to use two rods so you can pull and push at the same time and make more strokes with the rods. Dan Legree has a great view into the kiln. |
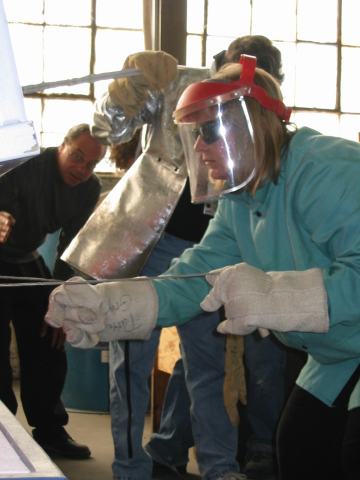 |
You can tell I'm concentrating on making sure I pull and push the softened glass strips into the patterns that I want. It is wonderful to get the design to look like the glass is dancing across the piece. Wearing the protective jacket, gloves, face shield, and cotton clothing makes combing very comfortable. |
 |
This is a different view of the combing process. Photo courtesy of Lorna Lovell |
 |
After a couple of combing pulls it is good to put the ends of the combing rods into a container of water to cool them off some. If the ends get too hot the combing rods can stick to the glass. In this picture you can see glass threads that I've pulled from the combed piece. |
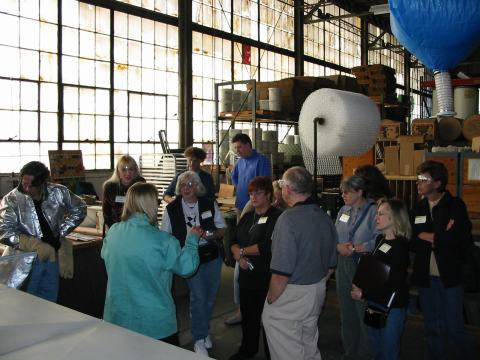 |
Between the combings, while waiting for the kiln to come back up to temperature, I'm able to explain what's happening to the glass, answer questions and in general, enjoy the people who are watching the demonstration. |
 |
It's great to be able to manipulate the glass at 1650°. After combing, and the glass (and kiln) has cooled (the glass gets stiffer as it cools), we close the kiln, turn the elements back on, and get the kiln back up to 1650° so that the valleys and bumps from the combing actually fill in. |
 |
I'll comb the piece until I'm satisfied with the distribution of the combed pattern. After the piece looks like it's finished, I'll skip the program and flash vent the kiln to 1100°. I don't vent my kiln below 1100° because it can warp the kiln shelves. |
 |
Voila. The finished combed sheet. Photo courtesy of Lorna Lovell |
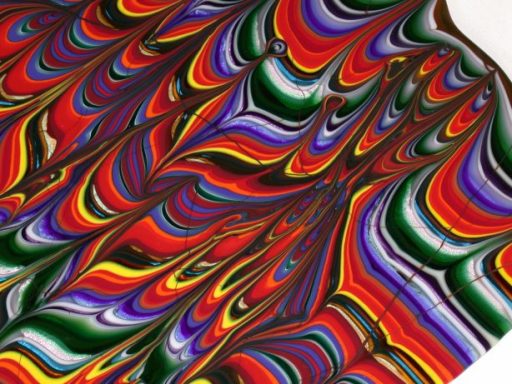 |
A closeup detail of the finished combed sheet. Photo courtesy of Lorna Lovell |
For Patty Gray's detailed combing instructions click here
Return to Patty Gray's Homepage
updated 25Nov2002